Look Ma, I Made a Thing
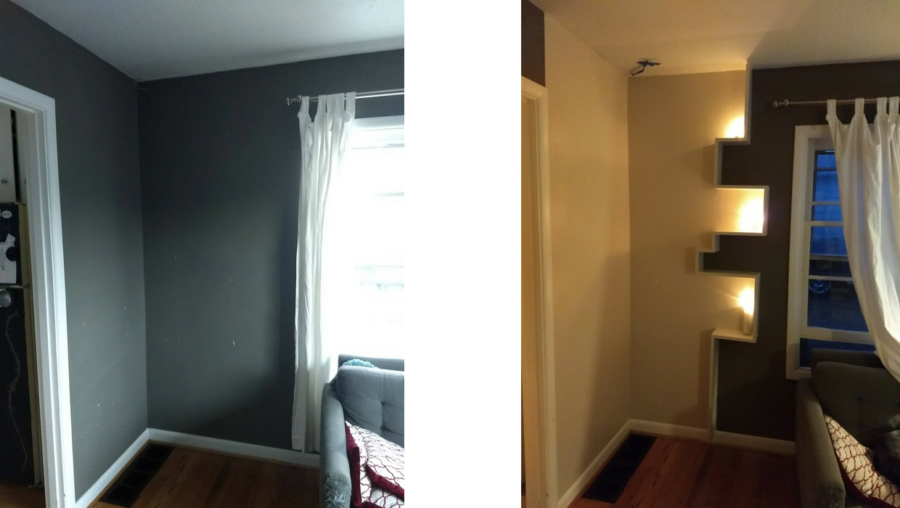
Just when you think a little shelving project will be simple and breezy, along comes Pinterest.
Want to add a simple shelf to the bathroom? Are you sure you don’t instead want to create a Rube Goldberg-inspired, steam punk-themed shelving system that makes your bathroom look like a boiler room from the Victorian Age? (Do you think I’m joking?) This is the blessing and the curse this is Pinterest.
And so it came to pass that, while considering the possibility of adding a few shelves to our living room space, I went down an inevitable Pinterest rabbit hole and discovered this sweet ditty. It seemed an interesting concept that looked promising; but what really sealed the deal was this comment on the pin:
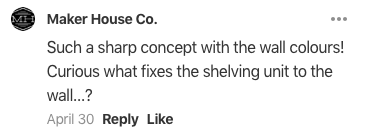
Exactly, Maker House Co., what does affix the shelving unit to the wall? I looked for an answer in reply to that worthy question on the thread, and there wasn’t one. This was becoming more than a shelf project—it was approaching mystery status! I was determined to solve the puzzle, write this blog post, and then respond to the thread with the answer (we’re in this one together, Maker House Co.).
If I thought a Pinterest inquiry was a rabbit hole, the resulting Youtube search was a snarfling vortex. Yet I emerged on the other side of aforementioned vortex with my two word solution: keyhole fasteners. Here’s a quick video about mounting a shelf using keyhole fasteners. Woot! Thank you and you’re welcome. 🙂
Okay, now that we had that little part of the mystery solved, it was time to map out the shelf using handy dandy painter’s tape, like so:
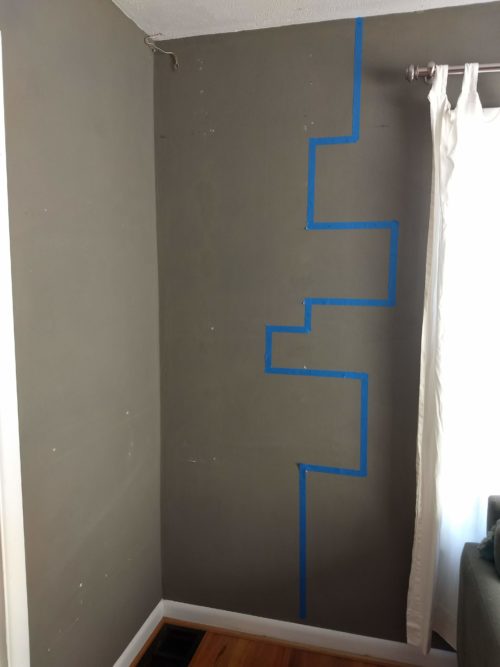
If you look closely, I’ll bet you can guess where the stud is on the wall (hint: the bottom of the unit aligns with the stud. Magic!). I then mapped out where I could locate five keyhole fasteners: three aligning with the stud, and two fixed with anchors. I decided to only affix vertical shelving sections with keyhole fasteners to ensure gravity was working in my favor.
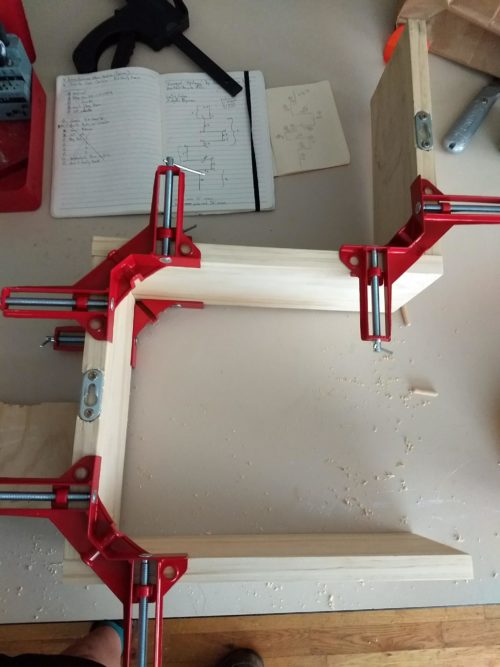
I’m no woodworker, so I may have overbuilt (or underbuilt! Time will tell). I found the cute red corner braces at Harbor Freight down the street and had great fun with them. You’ll notice the keyhole fasteners in their cameo appearance on the above photo. Using 1″x6″ pine meant that the fasteners went all the way to the edges, which I decided was fine. Others with, you know, pride in craftspersonship might choose differently.

I decided to install the shelving until from the top half, then the bottom half, then finishing with the middle swerve for two reasons:
- Installing shelves with keyhole fasteners means you have to have space a teensy bit above the shelf to allow the section to slot; and
- I was eyeballing this entire project and felt pretty sure my non-exact wordworking would mean my measurements were a little off (which was totally correct!)
Once the shelving unit was complete, I did a happy dance and then went to the garage to scrounge for white enamel paint to use on the shelf. Then I went to the paint store and got semi-gloss in the same shade for the wall.
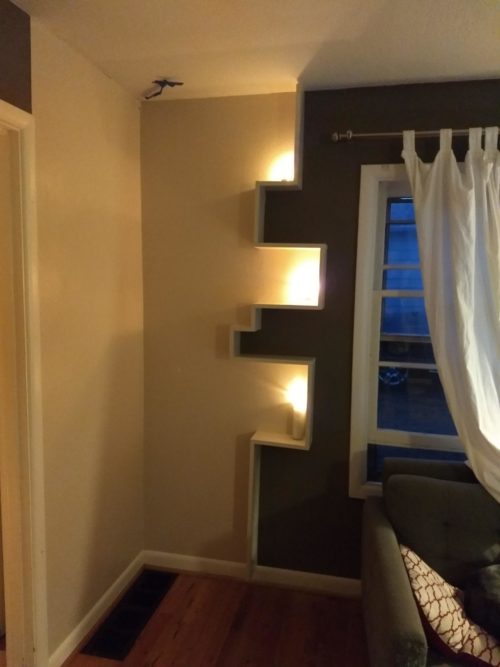
Ta da!
And now for the next Pinterest-inspired rabbit hole project…
What I learned at life today: Pinterest is fun fodder for home improvement projects, if you have the time.
